How to Wheelie in Project Wheelie
A mechanics-first tutorial for lifting cleanly, holding balance, and recovering without panic inputs.
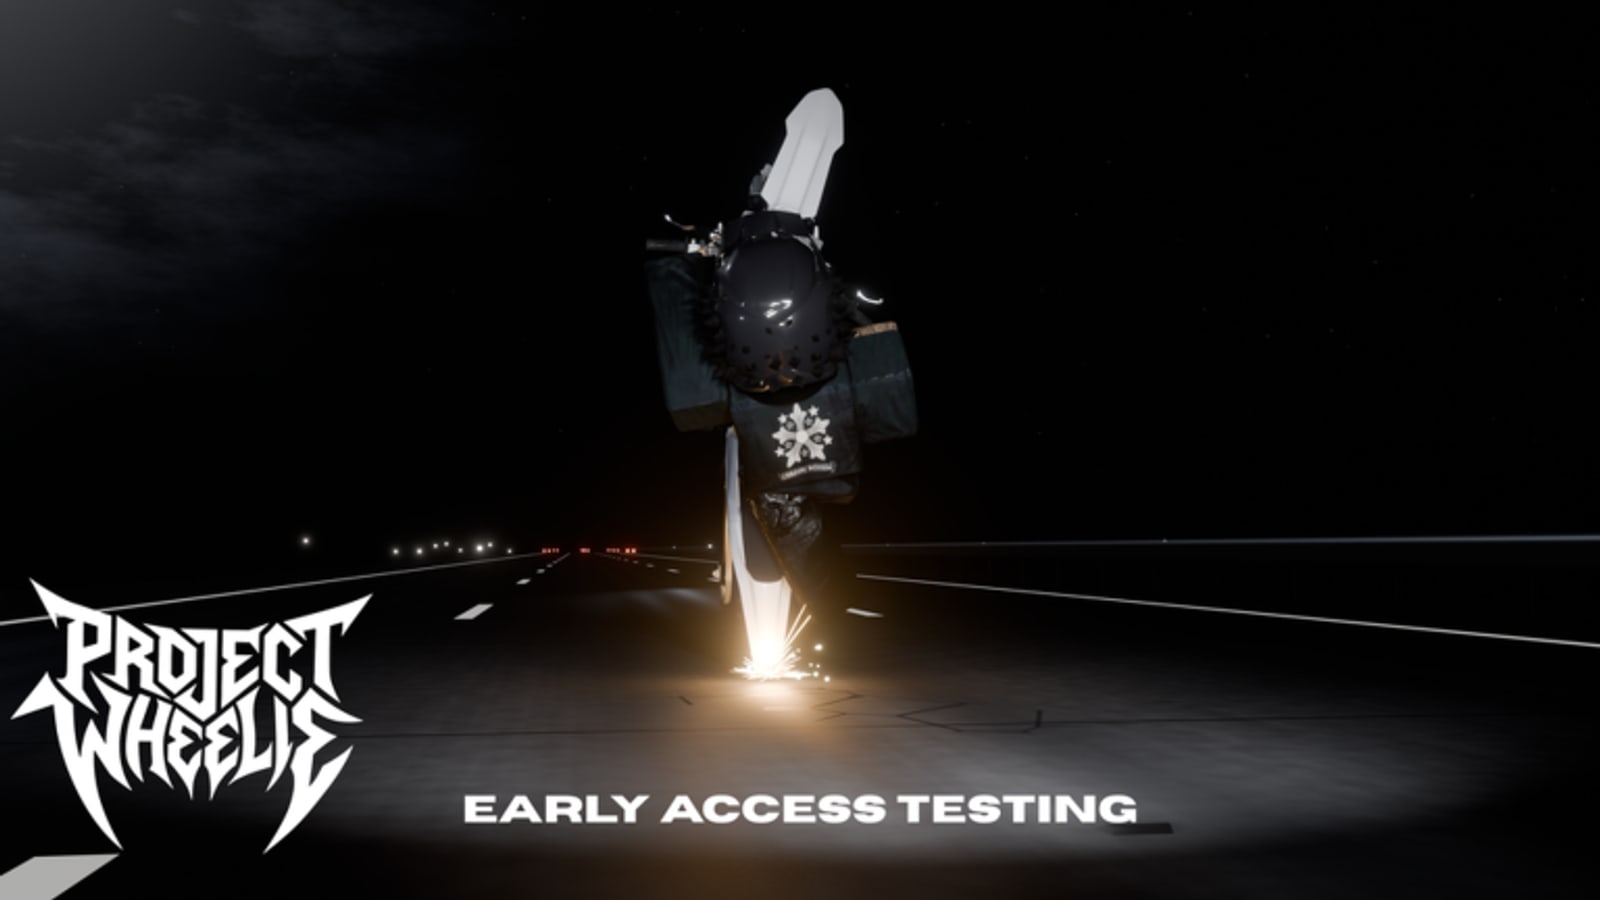
Holding a wheelie is the entire point of Project Wheelie’s early testing build. The developers say you are here to evaluate basic wheelie mechanics, so this guide ignores unfinished career fantasies and focuses on a repeatable lift-hold-recover loop. Read Getting Started first if you have not launched the paid test yet.
The core loop
Every clean wheelie has three phases. Lift starts when speed and pitch input combine to raise the front wheel. Hold is the micro-correction window where you keep the bike in a mid angle instead of looping backward or slamming down. Recover is the controlled return to two wheels so you can enter a turn or ramp without bouncing.
If you only practice the lift, you will tip forever. If you only practice the hold, you will never set up approaches. Train all three on flat ground before you touch the ramps and traffic props.
Lift without yanking
Start at a moderate roll. Sudden full pitch from a standstill usually dumps you. Ease into the lift, feel the front rise, then freeze your input for a breath. Many new riders mash the wheelie control as if it were a turbo button. In a physics-focused test, that creates oscillation.
Use the binds from the Controls Hub for your device. On touch screens, shorter taps often beat long presses once the front is already up. On keyboard, pair throttle with small pitch adjustments instead of holding every key at once.
Hold with tiny corrections
During the hold, look ahead of the bike, not at the front wheel. Your brain needs the horizon as a level reference. Correct early with small inputs. Late giant corrections are how loops and faceplants happen.
A useful drill is the five-second hold: lift, count to five, recover, repeat. When five seconds is easy, push to eight, then try a gentle left or right drift while elevated. The Practice Priority Tier List ranks this drill above traffic work for a reason.
Recover like you planned it
Recoveries should be deliberate. Chopping throttle and slamming the front creates bounce that ruins the next corner. Ease the front down, keep some forward speed, then reset your hands or thumbs to neutral. If you crash, relaunch immediately with a shorter lift instead of sitting in the fail animation mentally.
Common mistakes in early testing
Practicing only with traffic on. Visual noise hides your balance errors. Leave traffic off until the hold is stable, then graduate using Test Map Tips.
Chasing clips instead of feel. Short community videos can motivate you, but your bike and ping differ. Use video for ideas, then trust your own timing.
Skipping turn tracks. Flat holds are not enough. The turn tracks exist to teach elevated steering. Add them before ramps.
Blaming the game for every tip. Early testing physics can change between patches. Log whether a tip came from over-input or a build change, then check the Updates Hub.
Device-specific notes
Mobile riders should reduce camera fight by locking a comfortable zoom before drills. PC riders should avoid conflicting browser overlays if they play in Roblox Player. Controller users need deadzone awareness so tiny sticks do not overcorrect. Details live on PC and Mobile controls.
A twenty-minute wheelie session
- Three minutes flat lifts.
- Seven minutes timed holds.
- Five minutes turn-track holds.
- Five minutes recover-and-reaccelerate links.
Generate a custom version with the practice planner and tick progress on the tester checklist.
Related reading
Continue with Test Map Tips, review the Map Overview, and compare expectations in the Early Testing Review. Codes will not teach balance; visit the Codes Hub later.
Frequently Asked Questions
Quick answers to the most common Project Wheelie questions.
Why do I keep looping backward?
Your lift input stays too strong after the front rises. Freeze, then make smaller corrections during the hold.
Should I learn wheelies with traffic enabled?
Not at first. Master flat holds with traffic off, then add traffic as a separate drill.
Does this guide apply after the free full release?
The lift-hold-recover loop should still matter even if maps and vehicles expand later.
What page helps with button layout?
Use the Controls Hub and the PC and Mobile page for platform binds.